7 Skin Method Simulator
Customize Your Routine
Recommended: 0 Layers
Visual Guide
ReadyStart by calculating your ideal layers.
Once calculated, use the buttons below to simulate the routine step-by-step.
Have you ever looked at those K-drama stars with skin that looks like polished porcelain and wondered if it’s just good genetics or a secret hack? It’s rarely just luck. The trend you’re seeing everywhere is likely the 7 skin method. It sounds intense-seven layers of product? Really?-but it is actually one of the simplest, most effective ways to boost hydration without spending hours in front of the mirror.
The concept comes from the world of Korean skincare, where the goal isn’t just to clean your face but to build a foundation of moisture. This technique focuses on layering a hydrating toner multiple times to mimic the effect of drinking water for your cells. If you have dry, dehydrated, or dull skin, this might be the missing link in your routine. Let’s break down exactly what it is, how to do it right, and whether your skin can actually handle seven layers.
Understanding the Core Concept: What Is the 7 Skin Method?
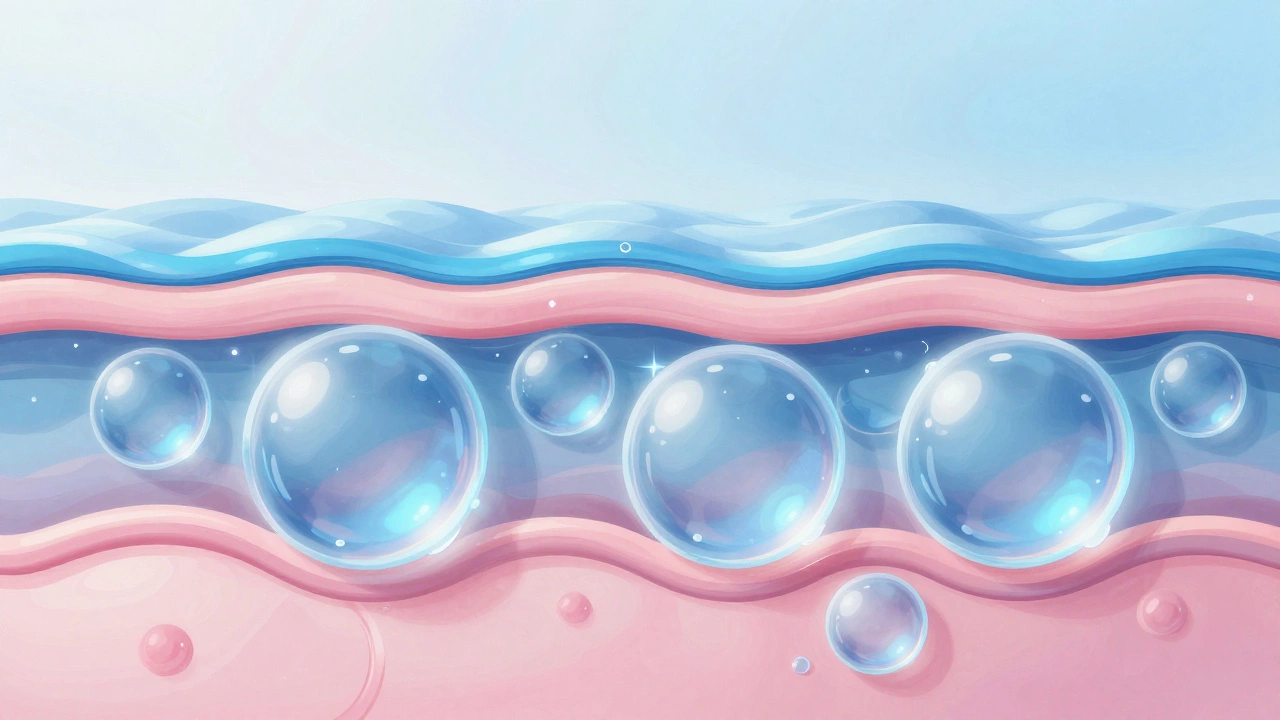
At its heart, the 7 skin method is about saturation. In traditional Western skincare, we often apply a toner once after cleansing and move on to serums. In Korean beauty philosophy, toners (often called lotions) are seen as the primary delivery system for hydration. The idea is that by applying thin layers repeatedly, you allow each layer to absorb fully before adding the next, creating a deep reservoir of moisture.
You don’t literally need to count to seven every single time. The number "seven" is symbolic of thoroughness. Some people stop at three layers; others go up to ten. The rule of thumb is simple: keep applying until your skin feels plump, soft, and satisfied, but not sticky or heavy. If your skin drinks up the liquid quickly, add another layer. If it sits on top, you’ve reached your limit.
Hydrating Toner is a water-based skincare product designed to balance pH and deliver immediate moisture to the epidermis. Unlike alcohol-based astringents used in the past, modern hydrating toners contain humectants like glycerin, hyaluronic acid, or beta-glucan. These ingredients pull water into the skin cells, preparing them to accept heavier treatments later in the routine.
Who Should Try This Routine?
This method is not a one-size-fits-all solution. It works wonders for specific skin types but can cause issues for others. Before you start buying gallons of toner, let’s look at who benefits most.
- Dry and Dehydrated Skin: If your skin feels tight after washing or looks flaky, this method provides the deep hydration it craves. Dehydration often mimics aging, causing fine lines to appear more prominent. Layering toner helps plump those lines temporarily while improving long-term barrier health.
- Sensitive Skin: As long as you choose a gentle, fragrance-free formula, this routine can soothe irritation. The repetitive motion of patting the product in can also stimulate blood flow gently, reducing redness over time.
- Dull or Lackluster Complexion: Hydrated skin reflects light better. By saturating the outer layers, you create that coveted "glass skin" glow naturally, without relying on highlighters or makeup.
However, if you have oily or acne-prone skin, proceed with caution. While even oily skin needs hydration, too many layers of product can clog pores or feel suffocating. You might want to stick to two or three layers instead of seven, or skip the method entirely in favor of a lightweight gel moisturizer.
Choosing the Right Product for Layering
Not all toners are created equal. Using an astringent or exfoliating toner seven times will strip your skin barrier, leading to redness, breakouts, and increased sensitivity. You need a formula specifically designed for hydration.
Look for these key ingredients on the label:
- Hyaluronic Acid: A powerhouse humectant that holds up to 1,000 times its weight in water.
- Glycerin: A classic, affordable ingredient that draws moisture from the air into your skin.
- Beta-Glucan: Known for soothing and repairing the skin barrier.
- Ceramides: Lipids that help seal moisture in and protect against environmental stressors.
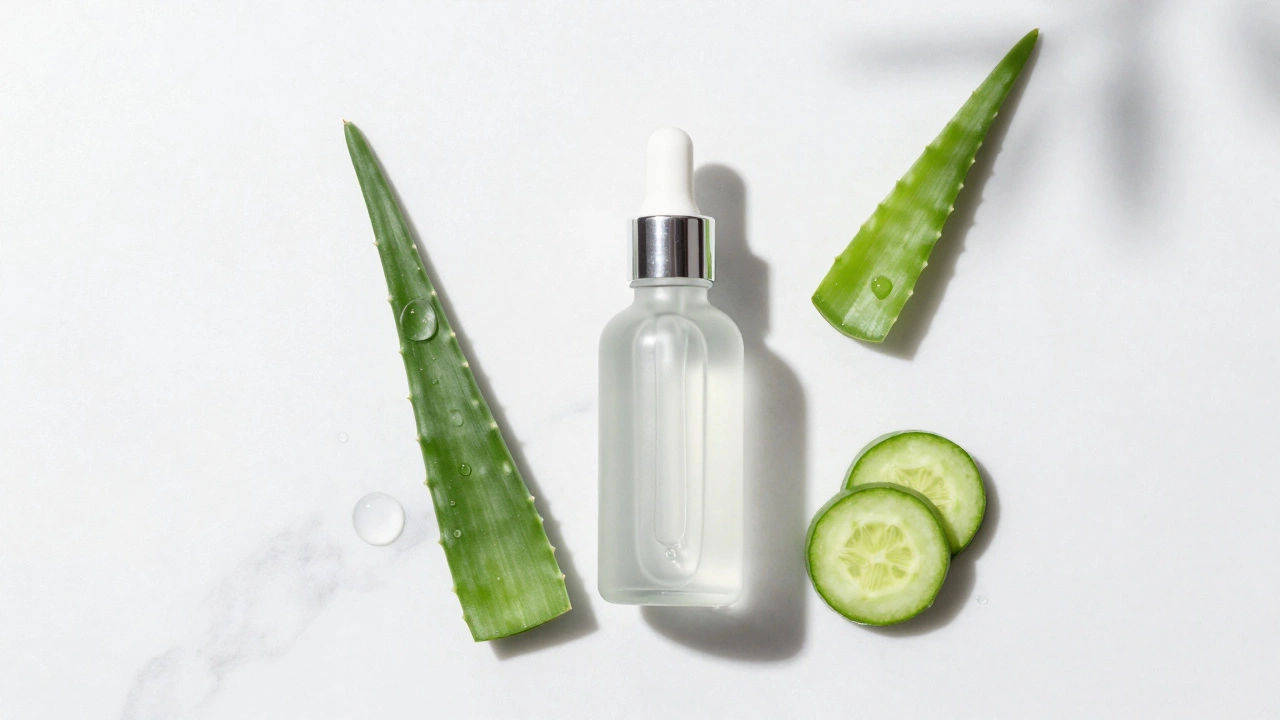
- Aloe Vera or Centella Asiatica: Calming agents that reduce inflammation.
Avoid toners with high concentrations of alcohol, strong fragrances, or active acids like salicylic acid or glycolic acid unless directed by a dermatologist. These are meant for occasional use, not daily layering.
How to Perform the 7 Skin Method Step-by-Step
The process is straightforward, but timing matters. Here is the correct way to execute the routine for maximum absorption.
- Cleanse First: Start with a clean face. Use a gentle cleanser to remove dirt, oil, and makeup. Pat your face dry with a towel, leaving it slightly damp. Applying toner to damp skin helps lock in that initial moisture.
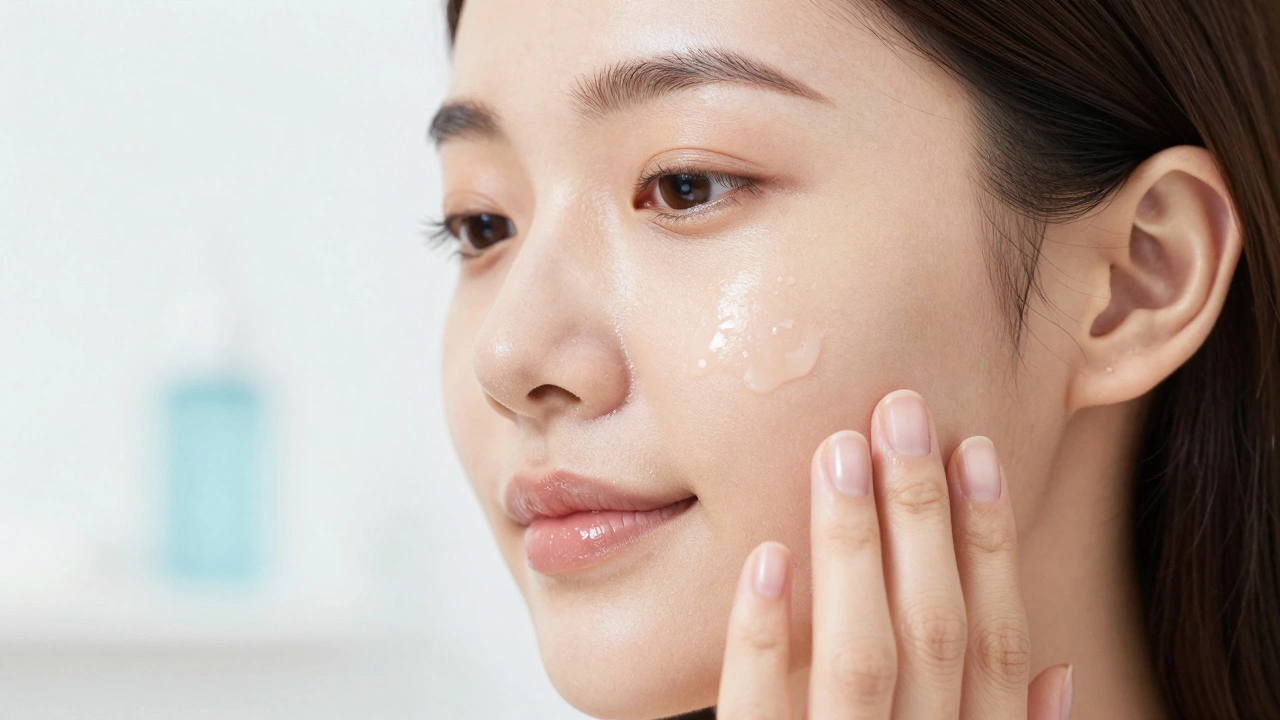
- Apply the First Layer: Pour a generous amount of your hydrating toner onto a cotton pad or directly into your palms. If using a cotton pad, swipe it across your face. If using hands, press the product into your skin. Wait about 30-60 seconds for it to absorb.
- Assess Absorption: Touch your face. Does it feel tacky? Dry? If it’s absorbed completely, you’re ready for the next layer. If it’s still wet, wait a bit longer.
- Repeat Layers 2-7: Continue applying thin layers. With each application, focus on areas that tend to get dry, like your cheeks and forehead. You can adjust the number of layers based on how your skin feels. On humid days, you might only need three layers. On dry winter days, you might need six or seven.
- Seal It In: Once you’ve finished your final layer, immediately follow up with a serum and a moisturizer. The toner hydrates, but the moisturizer seals that hydration in. Without this step, the water you just added could evaporate, leaving your skin drier than before.
Common Mistakes to Avoid
Even simple routines can go wrong if executed poorly. Here are the pitfalls that turn a glowing complexion into a breakout factory.
| Mistake | Why It Happens | How to Fix It |
|---|---|---|
| Using Exfoliating Toners | Confusing hydration with chemical exfoliation. | Switch to a plain hydrating lotion or essence. |
| Rushing the Layers | Impatience leads to pilling (product rolling off skin). | Wait 30 seconds between each layer. |
| Skipping Moisturizer | Thinking toner alone is enough. | Always apply an occlusive cream last. |
| Overdoing It Daily | Assuming more is always better. | Listen to your skin; stop when it feels plump. |
Another common error is using cotton pads exclusively. While convenient, cotton pads absorb a significant amount of product, meaning less reaches your skin. For the 7 skin method, using your hands is often more efficient and eco-friendly. Pressing the toner into your skin also generates slight warmth, which can enhance absorption.
Integrating Into Your Existing Routine
You don’t need to overhaul your entire skincare regimen to try this. The 7 skin method replaces your standard single-step toner application. It fits perfectly after cleansing and before serums or moisturizers.
If you use active ingredients like retinol or vitamin C, apply them after the toner layers. The hydrated canvas allows these actives to penetrate more effectively and reduces the risk of irritation. For example, retinol can be drying; applying it over saturated skin minimizes peeling and redness.
In the morning, you might find that fewer layers are sufficient. Your skin produces natural oils overnight, so it may not need as much external hydration. In the evening, however, your skin undergoes repair processes and benefits from the extra moisture boost.
Is It Worth the Effort?
The 7 skin method requires patience and a decent-sized bottle of toner. But the results speak for themselves. Users report softer, bouncier skin within a week. Over time, consistent hydration strengthens the skin barrier, making it more resilient against pollution, UV damage, and harsh weather.
It’s not a magic cure for acne or deep wrinkles, but it is a powerful tool for maintaining healthy, balanced skin. If you’ve been struggling with dullness or tightness, give it a try. Start with three layers and work your way up. Your skin will tell you when it’s had enough.
Can I use any toner for the 7 skin method?
No, you should only use hydrating toners. Avoid toners with alcohol, astringents, or exfoliating acids like BHA or AHA. These ingredients can irritate your skin if applied multiple times. Look for formulas labeled as "hydrating," "moisturizing," or containing ingredients like hyaluronic acid and glycerin.
How long does the 7 skin method take?
It typically takes 5 to 10 minutes. Each layer needs about 30 seconds to absorb. If you rush through the steps, the product may pill or sit on the surface. Treat it as a relaxing ritual rather than a chore.
Do I need to do this every day?
You can, but it’s not mandatory. Many people use it nightly for deep hydration and skip it in the morning. Listen to your skin’s needs. On humid days, you might only need one or two layers. On dry days, go for five or more.
Will this clog my pores?
If you use non-comedogenic, water-based toners, it shouldn’t clog pores. However, if you have very oily or acne-prone skin, monitor your reaction. You may find that 2-3 layers are sufficient. Always follow with a lightweight, oil-free moisturizer.
Can I use this method with retinol?
Yes, it’s actually beneficial. Hydrated skin tolerates retinol better. Apply your toner layers first, wait for them to absorb, then apply your retinol serum. This buffer reduces irritation and enhances the efficacy of the retinol.